
Lower your internet bill
61% of people overpay for their internet.
Are you one of them?
Unlock exclusive offers in your area!
Call now
[tel]Enter zip code
Are you happy with your Internet service?

About the author
Imagine downloading your favorite 4K movie in seconds, not hours. Picture seamless video calls without freezing or buffering. Envision a household where everyone streams, games, and works online simultaneously—without a single complaint about slow internet. This is the reality of fiber internet. Fiber-optic technology delivers fast speeds that transform how we experience the online world. So, are you ready to leave internet frustration behind? Let’s explore how fiber internet is installed to bring high-speed internet from the street to your living room.
Before diving into the installation details, let’s clarify what differentiates fiber from traditional internet services.
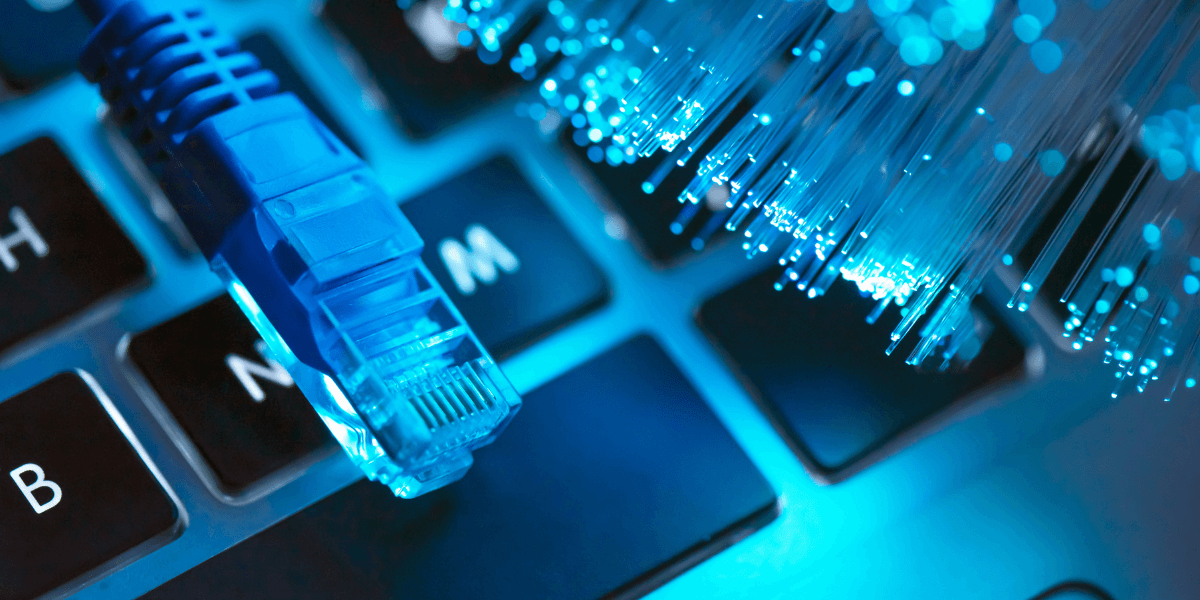
Unlike DSL and cable internet, which rely on copper wires to transmit electrical signals, fiber-optic internet uses thin strands of glass or plastic to carry data as light pulses. This fundamental difference delivers several key advantages:
These benefits explain why many homeowners eagerly await fiber availability in their neighborhoods.

Check fiber availability
The first step in your fiber journey is determining whether service is available where you live. While fiber coverage continues to expand rapidly across the country, it hasn’t reached every neighborhood yet.
Simply enter your zip code here to determine if fiber has reached your area.
If fiber isn’t available yet, many providers let you register for notifications when construction reaches your neighborhood.
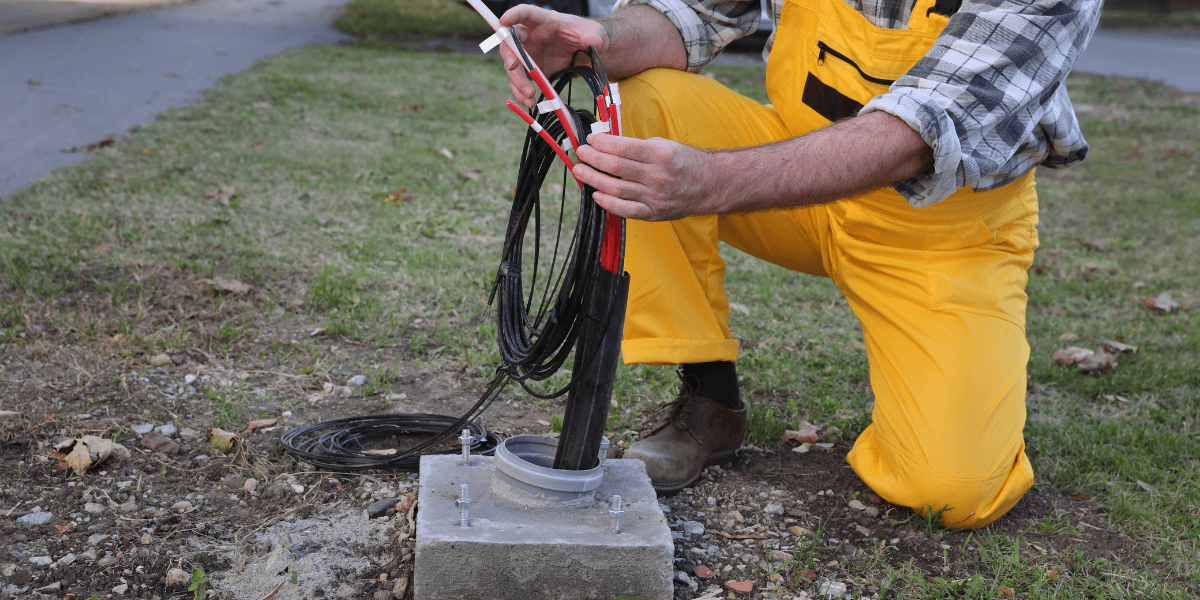
Installing fiber networks requires significant infrastructure investment. Each mile of fiber installation can cost tens of thousands of dollars, involving:
Urban areas typically get fiber first because providers can connect more customers per mile of cable installed, making the investment more economical. Due to these economic realities, rural fiber expansion continues to grow but at a slower pace.
I’ll update the installation process section with this new information to make it more detailed and comprehensive.

Bringing fiber internet to your home involves a comprehensive process that begins long before a technician arrives at your door. Here’s the complete journey from network design to your first high-speed connection:
Before any construction begins, providers conduct detailed site surveys of your neighborhood and property to:
This hands-on approach ensures the installation plan fits your specific location and needs, setting the stage for all subsequent steps.
With survey data in hand, engineers develop a comprehensive network design that includes:
This crucial design phase can take 6-12 months to complete, depending on the size and complexity of the connected area.
Before construction begins, providers must:
This labor-intensive phase prepares utility poles for new fiber lines:
This preparation can represent up to 40% of a project’s budget but is essential for a safe, reliable installation [1].
For aerial installations, technicians install steel support cables:
With support strands in place, crews attach the actual fiber optic cables:
The network infrastructure includes critical components for maintenance and flexibility:
These elements allow for future repairs, maintenance, and network expansion without significant reconstruction.
Technicians perform the delicate work of joining fiber strands:
As network construction progresses, providers begin outreach to potential customers through:
When you sign up for service, the provider connects your home to the main network:
The final step brings your fiber connection to life:
After completing these steps, you’ll enjoy all the benefits of your new fiber internet connection, with speeds and reliability far beyond traditional services.
For underground installations, the depth of fiber cables varies by location:
These depths prevent accidental damage from routine yard maintenance while keeping cables safe from freezing and other natural hazards.
Unlike cable service, fiber internet requires specific equipment:
This device:
You’ll need a router that can:
Many providers offer router rental or purchase options specifically designed for their fiber service.
High-quality Ethernet cables connect:
For best performance, use Cat5e or higher cables capable of gigabit speeds.
Streamlined connections
This question causes frequent confusion. The simple answer: No, you don’t need a separate modem for fiber internet.
With cable or DSL service, a modem converts signals from the provider’s network into a format your router can use. With fiber internet, the ONT handles this conversion, essentially replacing the modem in your setup.
Your connection flows:
This streamlined approach eliminates one device from your networking setup.
Installation costs vary significantly between providers:
For internet companies, installing fiber networks represents a significant investment:
For homeowners, installation costs typically range from:
Always check with your provider about potential installation fees before signing up. Many offer promotional deals waiving these charges for new customers.

Varied installation timelines
The timeline for getting fiber installed varies:
Most providers schedule specific appointment windows and offer arrival notifications so you don’t wait an entire day.
Don’t wait another day struggling with slow, unreliable internet. The digital future is here, and it runs on fiber. Taking the first step toward lightning-fast connectivity is easier than you think.
Enter your zip code now to discover fiber availability in your neighborhood. If fiber has reached your area, you could be enjoying blazing speeds within days.
The internet shapes how we work, learn, connect, and entertain ourselves. Why settle for yesterday’s technology when the gold connectivity standard might be just a zip code check away?
[1] Race.com. “Fiber Optic Installation in 11 Steps: From Design to Activation"
[2] Naco.org. “Investing $100 Billion in American Infrastructure".
Do you want to leave a review for AT&T Internet?
About the author
Infinity Sales Group, LLC
5900 Broken Sound Pkwy NW,Boca Raton, FL 33487